Dump the clutch pulling away from right-hand merging junction, low thud followed by tractor roar. The thud wasn’t a disagreeable noise, and thus was ignored. Noticing a tasty sports car in the rear-view covered for the new roar, only further down the road realising the throat was linked to my foot. Again not entirely disagreeable, the new exhaust note was scheduled for investigation when I got home, surely 5 minutes wouldn’t be a problem?
2 minutes later, coming off a roundabout, finally a noise to fit the problem. The sound of steel dragged over asphalt encouraged the application of hazard flashers followed by pulling into a conveniently placed lay-by. However the sharp turn into the lay-by started a race between the back box and the offside wheel, the wheel won launching itself up and over the defeated back box; It had the last laugh cookie cutting the bumper with the tail-pipe.
The next day I got quotes from a Peugeot dealer and a local garage, £180 and £160 respectively. Armed with the knowledge an OEM fitment made from aluminium could be bought for around £25, the quotes were turned down. Whilst steel is better and likely to last a fair bit longer, aluminium is suitable for the age of the car and it’s anticipated life. When purchasing a replacement back box you want to make sure it’s designed to fit your vehicle, it’s doesn’t have to look exactly the same, as the mountings will take account of any difference to ensure you don’t need costly and time consuming bumper modifications. After checking out a few online stores I settled on one that asked for a few details about the model to refine the parts list. Selecting the back box, flange clamp, new rubbers for mounting and a tube of exhaust paste/putty. The total order (inc. delivery) came to around £40.

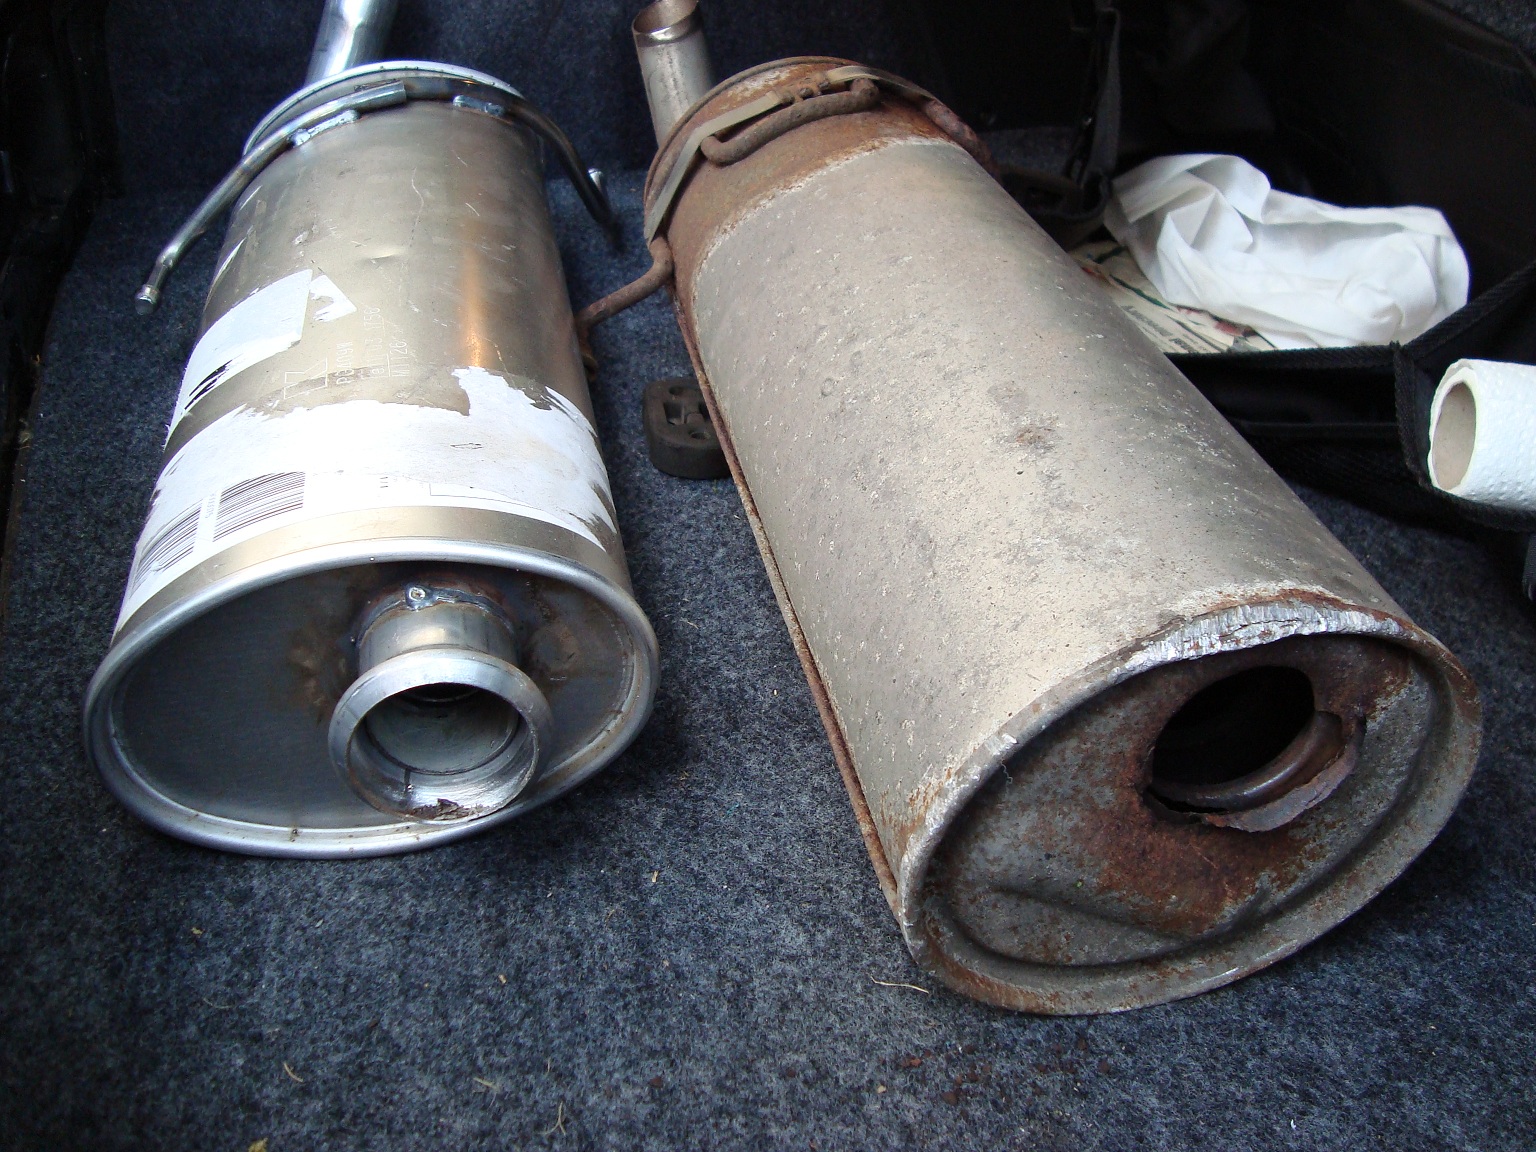
Peugeot 306 1.6 XT Back Box, new and old.
Quite a few tasks can be accomplished at home, with a friendly neighbours tools or a slightly bigger wallet. Scissor jacks generally get bad press, but if you listen to everyone you’ll believe you can’t do anything without several thousand worth of shiny tools in a shiny garage equipped with inspection pit and hydraulic ramp! The scissor jack supplied with the car, located in the boot, fits nicely under the jacking points. The designated jacking points on the sill are marked with notches on the thin metal strip at the lowest point on the body, place the jack slightly behind the notch between the notch and the wheel. With the scissor jack located securely and the base on a firm surface, the car can be raised about a foot in 30 seconds. I’ve used a trolley jack in the past, but without a block of wood with a grove for the sill you’ll mash the sill on the flat plate (not good). An axel stand can be placed under any secure point that will bear the weight of the vehicle, I’ve chosen the point the rear shocks attach to the rear wheel.
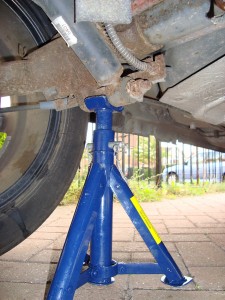
Axel stands suggested placement
After doing the same on the other side, bouncing the car to ensure the stands were steady, I was set. I should point out that this isn’t a guide to jacking your car nor do I include enough health and safety advice; The aim is only to provide a little more confidence for amateur mechanics on this model. Please consult specific manuals such as Haynes, research relevant safety procedures, read equipment instructions and use your head. I would add that even with two axel stands in place, I kept the scissor jack deployed as backup but would never consider working under the car with just the scissor jack.
My 306 is particularly good for avoiding bodywork rust, however that doesn’t stretch to everything else attached to the underside. Getting the old clamp off was a real challenge, grr was used to full effect, but the torque wrench started clicking to say it was going to give up before my wrists snapped. More penetrating fluid, a few taps of a hammer (not on the torque wrench!) and a bit more grr the rusted part came off. I have to admit the first time I looked at this, I cocked it up. Light was failing and the pipe coming out of the back box had such a clean break I thought it was part of the mid-pipe and should slide into the flange of the back box. No joy as of course the remaining pipe was the same diameter as the internal of the new box!
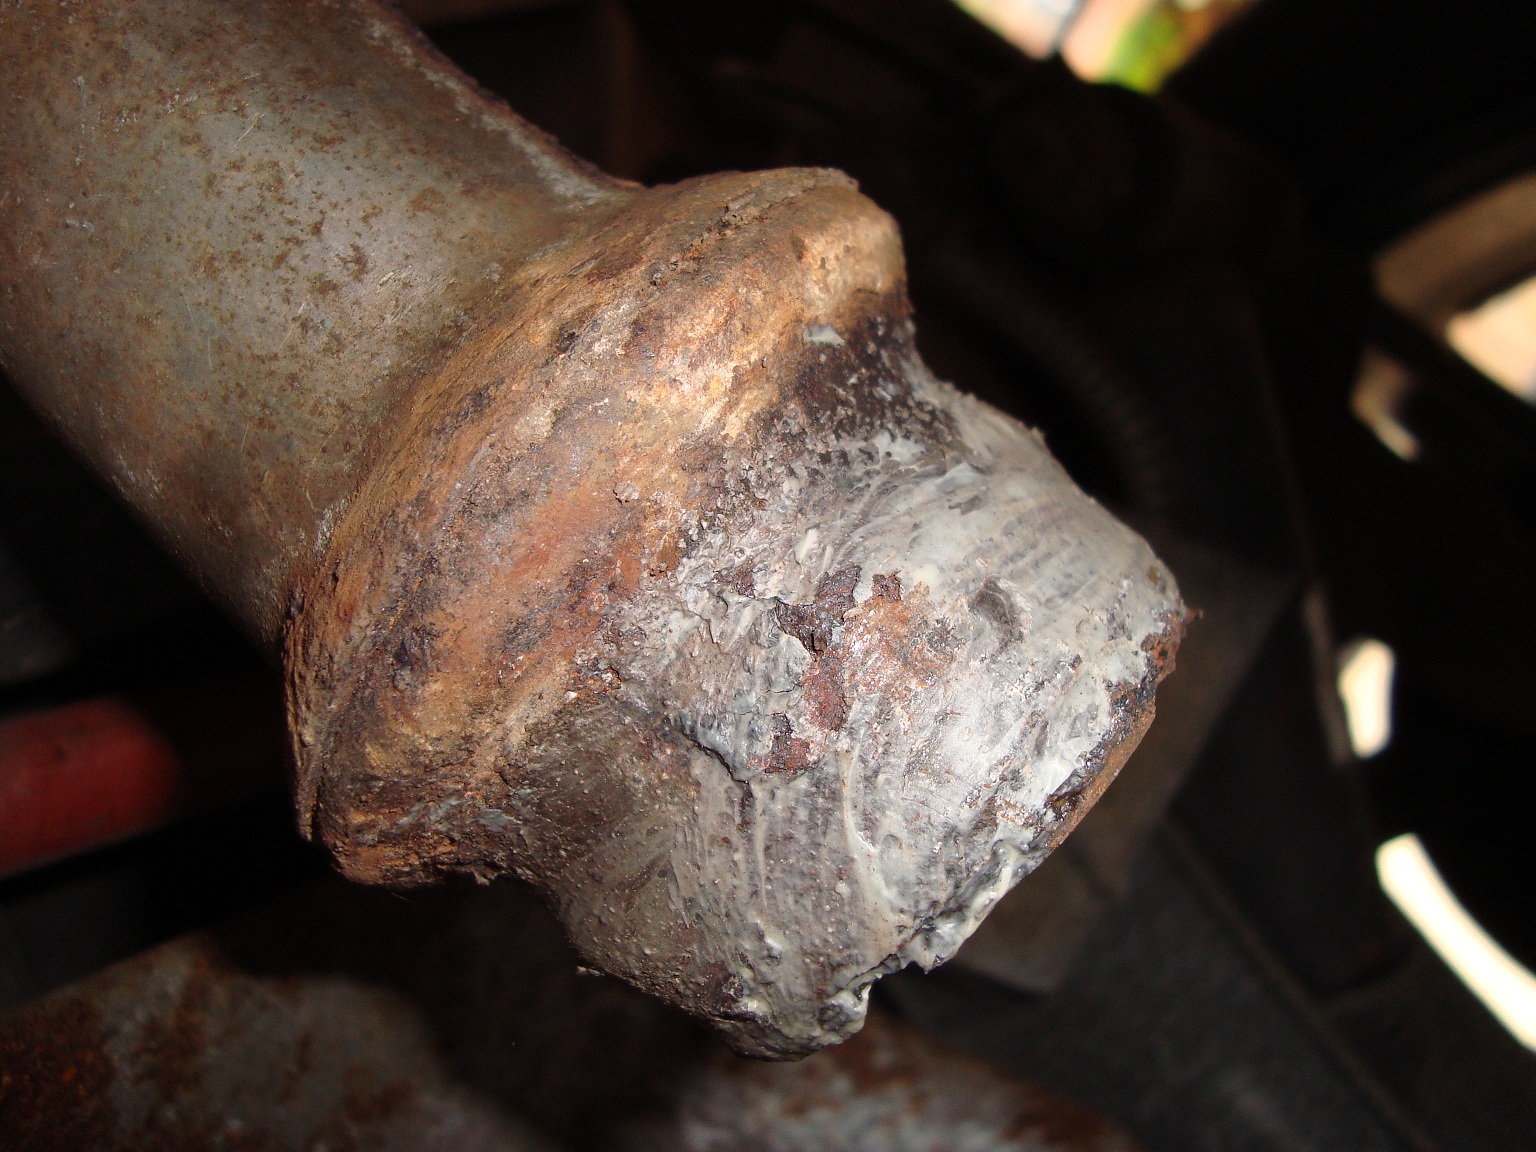
A new day dawned and so too the realisation that the remaining pipe section’s flange and the mid-pipe flange had rusted together imperceptibly. It’s far easier to see in this photo than under the car, the camera was a great tool for getting a closer look.

Mid pipe with back box flange
Drenched with penetrating fluid and prised apart with aid of an awl and locking pliers. The mid-pipe flange was slightly rusty but cleaned up to a sound finish with a wire brush. Exhaust putty is one of those great unexplained things in life, where applying basic logic will get you into trouble. Sure you want to fix your exhaust in one place, and even if you notice there are 6 joins in the entire system, using a sixth of the tube is a great way to make an epic mess, I’d guess the tube would be good for 10 cars. The paste/putty provides an airtight seal, but you don’t want to cause an obstruction. Apply two tooth brush loads to each flange at the mating point and also within the cup of the flange clamp.
With the new rubbers on the back box mounts, slide the rubbers over the mounts under the car. Now position the flanges together and secure with the clamp. In the absence of torque settings (which usually means it’s not an exact science) I went with really tight.
After some basic checks the car was down off the stands, total time around 1 hour. £120 to £140 saved and a warm feeling inside.